Quick answer: Telnet Client is included with Windows 11 and Windows 10 but is turned off by default. To turn it on, search the Start menu for Turn Windows features on or off, tick Telnet Client and select OK. Or open an administrator command prompt and run dism /online /Enable-Feature /FeatureName:TelnetClient. Then connect with telnet host port, for example telnet mail.example.com 25. Telnet isn’t encrypted, so use it for quick port tests, not for logging in to anything.
Applies to: Windows 11 and Windows 10 (Home, Pro and Enterprise), and Windows Server, where Telnet Client is also an optional feature.
In this guide
- What telnet is (and what it’s used for today)
- Enable Telnet Client in Windows Features
- Enable Telnet Client from the command line
- How to use telnet
- Test whether a port is open
- Telnet prompt commands
- Test a port without telnet: Test-NetConnection
- Fix “telnet is not recognized”
- Telnet server and remote logins: use SSH instead
- Related guides
- Frequently asked questions
What telnet is (and what it’s used for today)
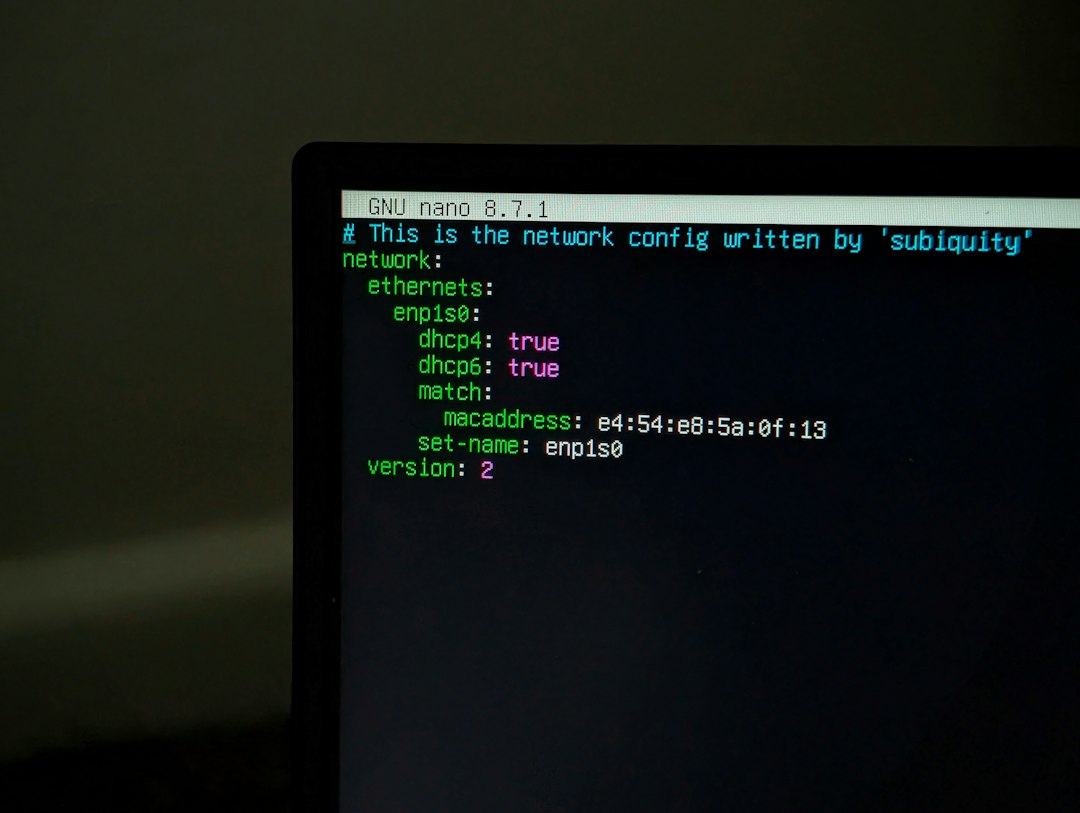
Telnet is an old protocol for opening a text session with another computer over TCP, by default on port 23. Windows ships a Telnet Client that you run as telnet from Command Prompt or PowerShell.
Today almost nobody uses telnet to log in to servers, because everything, including passwords, travels as plain text. It’s still handy for two jobs:
- Checking whether a TCP port on another machine is reachable, for example a mail server on port 25 or a web server on port 80.
- Talking to old network gear, lab equipment or text-based services that only offer telnet.
If you only need a port check, PowerShell’s Test-NetConnection does it without installing anything. See the section below.
Enable Telnet Client in Windows Features
You need an administrator account for this. The steps are the same on Windows 11 and Windows 10:
- Select Start, type Turn Windows features on or off and open the result. You can also press Win + R, type
optionalfeaturesand press Enter. - Scroll down and tick Telnet Client.
- Select OK and wait while Windows applies the change. Restart if it asks you to.
- Open a new Command Prompt or PowerShell window and type
telnet. You should see theMicrosoft Telnet>prompt. Typequitto leave it.
The same dialog is in Control Panel > Programs > Programs and Features > Turn Windows features on or off on both versions. Recent Windows 11 versions also link to it from Settings > System > Optional features, under More Windows features.
Enable Telnet Client from the command line
This is quicker if you’re setting up several PCs or working on Windows Server. Right-click Start and open Terminal (Admin) (Windows PowerShell (Admin) on Windows 10). If you’re signed in as a standard user, see how to run a program as a different user.
In Command Prompt or PowerShell, use DISM:
dism /online /Enable-Feature /FeatureName:TelnetClientOr, in PowerShell only:
Enable-WindowsOptionalFeature -Online -FeatureName TelnetClientTo check whether it’s already on, run dism /online /Get-FeatureInfo /FeatureName:TelnetClient and look at the State line. To remove it again, swap /Enable-Feature for /Disable-Feature.
You may see pkgmgr /iu:"TelnetClient" in older guides. That was the Windows 7-era method. Use DISM on current versions.
How to use telnet

The basic syntax is:
telnet <host> [port]<host>is a host name or IP address, such as192.168.1.1ormail.example.com.[port]is optional. Without it, telnet uses port 23.telneton its own opens the interactiveMicrosoft Telnet>prompt, where you can typeopen host port.
Two optional switches are useful: /f filename saves a log of the session on your PC, and /l username sends a user name to servers that support it. For example: telnet /f telnetlog.txt 192.168.1.20 23.
To leave a session: press Ctrl + ] to go back to the Microsoft Telnet> prompt, then type quit and press Enter. The welcome text at the Microsoft Telnet> prompt names this escape key. Closing the window also ends the session.
Test whether a port is open
This is the most common reason to use telnet today. Run telnet with the host and the port you want to check:
telnet mail.example.com 25| What you see | What it means |
|---|---|
| The window clears to a blank screen with a cursor, or shows a greeting (banner) from the service | The port is open and something is listening. |
| “Could not open connection to the host, on port 25: Connect failed” | Nothing answered. The service may be down, the port closed, or a firewall in the way. |
| A long pause, then the same failure | Packets are probably being dropped by a firewall rather than refused. |
If the name doesn’t resolve, try the IP address instead. If that works, the problem is name resolution, not the port. Our guide to fixing DNS errors on Windows covers the usual causes. If nothing on the network answers at all, check your own connection first, for example an Ethernet adapter without a valid IP configuration.
Remember that the test runs from your PC. A port can be open on the server but still blocked by your own firewall, your router or your company network.
Telnet prompt commands
At the Microsoft Telnet> prompt (or after pressing Ctrl + ] during a session) you can use these commands:
| Command | What it does |
|---|---|
open host [port] | Connects to a host. |
close | Ends the current connection but stays in telnet. |
quit | Disconnects and closes Telnet Client. |
status | Shows whether you’re connected. |
display | Shows the current settings. |
set localecho | Shows what you type, useful when a server doesn’t echo it back. unset localecho turns it off. |
set logfile name | Sets a file to log the session to (use set logging to start logging). |
set term vt100 | Changes the terminal type. Options are ansi, vt100, vt52 and vtnt. |
send ayt | Sends “Are you there?” to the server. send brk sends a break. |
? or help | Lists the commands. |
While you’re at the prompt during a session, press Enter on an empty line to return to the session.
Test a port without telnet: Test-NetConnection
If you can’t or don’t want to install Telnet Client, PowerShell has a built-in port test. Open PowerShell (no admin needed) and run:
Test-NetConnection mail.example.com -Port 25Look at the TcpTestSucceeded line: True means the port answered, False means it didn’t. The output also shows the IP address the name resolved to, which helps spot DNS problems. tnc is a short alias, and -CommonTCPPort accepts HTTP, RDP, SMB or WINRM instead of a number:
tnc 192.168.1.20 -CommonTCPPort RDPAdd -InformationLevel Quiet if you only want True or False, for example in a script.
Fix “telnet is not recognized”
The message “‘telnet’ is not recognized as an internal or external command” (or “The term ‘telnet’ is not recognized” in PowerShell) almost always means Telnet Client isn’t turned on yet.
- Turn it on with Windows Features or DISM, as above.
- Close and reopen Command Prompt or PowerShell, because windows that were already open may not find the new command.
- Check the feature state with
dism /online /Get-FeatureInfo /FeatureName:TelnetClient. It should say State : Enabled. - On a work PC, your IT department may block optional features. If the install fails, use
Test-NetConnectioninstead, or ask them.
If DISM fails with a source or corruption error, repair Windows first with DISM /Online /Cleanup-Image /RestoreHealth and sfc /scannow, then try again.
Telnet server and remote logins: use SSH instead
Windows 11 and Windows 10 include only the telnet client. There’s no Telnet Server to switch on, and you shouldn’t want one: anyone on the network path can read a telnet session, including passwords.
- To log in to Linux servers, routers or other Windows PCs, use
ssh user@host. The OpenSSH Client is built into current versions of Windows 11 and 10. Ifsshisn’t recognized, add OpenSSH Client under Optional features in Settings (under System or Apps, depending on your Windows version). - For a remote desktop, use Remote Desktop or a remote-support tool. If one keeps dropping, see fixing “Disconnected from the AnyDesk network”.
- If a device only supports telnet, keep it on a separate, trusted network and don’t reuse that password anywhere else.
Related guides
- DNS_PROBE_FINISHED_BAD_CONFIG: 7 ways to fix it on Windows
- Ethernet doesn’t have a valid IP configuration: 7 fixes
- Error 0x80070035 “The network path was not found”: how to fix it
- Disconnected from the AnyDesk network: how to fix it
- Windows 11 run as different user: 4 ways
Official sources: for more detail, see these pages:
- Microsoft Learn: telnet command reference
- Microsoft Learn: Test-NetConnection
- Microsoft Learn: Enable-WindowsOptionalFeature
Frequently asked questions
Is telnet still available in Windows 11?
Yes. Telnet Client is still an optional feature in Windows 11 and Windows 10. It’s just off by default, so you have to turn it on once.
Do I need to restart after enabling telnet?
Usually not. Open a new Command Prompt or PowerShell window and it should work. Restart only if Windows asks.
Is it safe to turn on Telnet Client?
The client on its own doesn’t open any ports on your PC, so having it installed is low risk. The danger is typing passwords into a telnet session, because they’re sent unencrypted. Use SSH for logins.
How do I exit telnet?
Press Ctrl + ], type quit and press Enter. You can also just close the window.
What port does telnet use?
Port 23 by default. You can connect to any other TCP port by adding it after the host name, for example telnet example.com 443.
Leave a Reply