Quick answer: On most laptops with Intel 11th to 14th gen processors, Windows setup can’t see the SSD because it sits behind Intel’s VMD storage controller and the installer has no driver for it. Download the Intel Rapid Storage Technology (IRST) driver for your exact model from the PC maker’s support page, extract it to the installation USB, click Load driver in setup, browse to the driver folder and pick Intel RST VMD Controller. Your drive then appears. The other option is to turn VMD off in BIOS, which also disables RAID.
Applies to: clean installs of Windows 11 and Windows 10 from a USB stick or DVD, most often on Intel 11th to 14th gen laptops, plus new drives, desktops in RAID mode and virtual machines.
In this guide

Why Windows setup can’t see your drive
When setup reaches the Where do you want to install Windows? screen and shows “We couldn’t find any drives. To get a storage driver, click Load driver.”, the installer can’t talk to the storage controller, or there’s no working drive for it to find. Match what you have to the cause:
| Your situation | Likely cause | Go to |
|---|---|---|
| Intel 11th to 14th gen laptop (Dell, HP, Lenovo, ASUS, Acer and others) | Intel VMD controller needs the IRST driver | Fix 1 or Fix 2 |
| Desktop or workstation set to RAID | RAID controller needs its own driver | Fix 1, Fix 2 |
| New or just-fitted SSD | Drive not seated, wrong slot, or faulty | Fix 3 |
| Drive isn’t listed in BIOS either | Hardware or connection problem | Fix 3 |
| Installing in Hyper-V, VMware, VirtualBox or Proxmox | No virtual disk, or a disk type setup has no driver for | Virtual machines |
Your files aren’t affected by this message. Setup hasn’t touched the drive yet, it simply can’t see it.
Fix 1: Load the Intel RST (VMD) driver
Intel’s Volume Management Device (VMD) is switched on by default on many laptops with Intel 11th gen (Tiger Lake), 12th gen (Alder Lake), 13th gen (Raptor Lake) and 14th gen processors. Dell notes the problem shows up with retail media and the Media Creation Tool, but not with its own recovery images, which already include the driver. You’ll need a second working PC to download it.
- On another PC, open your laptop maker’s support site, enter your model or service tag and find the Intel Rapid Storage Technology driver. It’s usually in the Storage or Chipset category. Use the version listed for your model, because VMD driver versions only support certain processor generations.
- Run the downloaded file and choose Extract (not Install), then pick your Windows installation USB, or another USB stick, as the destination. Some packages are plain ZIP files you can unzip to the stick.
- Plug the USB into the problem PC, boot from it and continue to the “We couldn’t find any drives. To get a storage driver, click Load driver.” screen.
- Click Load driver, then Browse, and open the extracted driver folder. On Dell packages this is the VMD folder (inside,
f6vmdflpy-x64); on ASUS packages it’s the RST folder. Older 10th gen and earlier systems use the F6 folder instead. - Select Intel RST VMD Controller and click Next. After a few seconds your drive should appear in the list.
- Select the drive and continue the installation as normal.
If the driver list is empty, untick Hide drivers that aren’t compatible with this computer’s hardware to see what’s in the folder. If you still see nothing, the driver is for the wrong platform: get the exact one for your model. For laptops with Intel Core Ultra 200V (Lunar Lake) chips, ASUS says Windows 11 version 24H2 or later finds the drive without an IRST driver, so newer installation media is the fix there.
Fix 2: Turn off VMD or RAID mode in BIOS
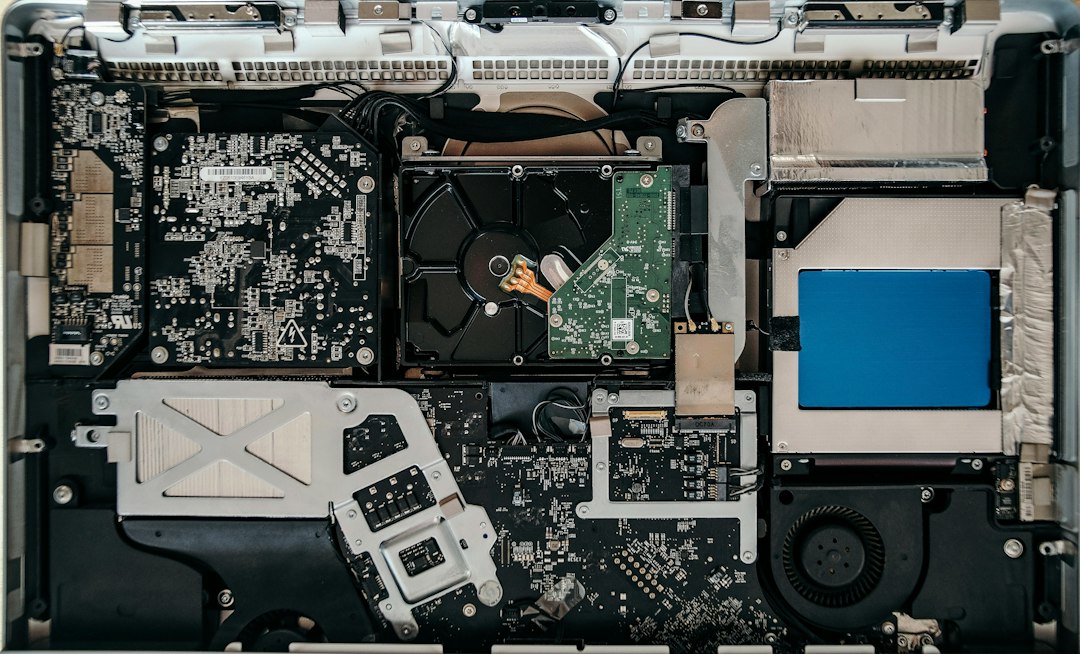
If you can’t get the driver, you can switch the storage controller to a mode Windows setup understands out of the box. Do this only for a fresh install.
- Restart and enter BIOS/UEFI setup. The key is usually F2, Del, F10 or F1, depending on the maker.
- Find the storage controller setting. Names vary: on ASUS laptops it’s Advanced > VMD setup menu > Enable VMD controller; on many other PCs it’s an option such as SATA Operation, SATA/NVMe Operation or SATA Mode, where you change RAID On or RST to AHCI (or AHCI/NVMe).
- Set VMD to Disabled (or the mode to AHCI), save with F10 and restart from the installation USB.
Warnings: turning VMD off means you can’t use RAID arrays. And if another copy of Windows is already installed on the PC in RAID or VMD mode, switching to AHCI can stop that copy from booting. On a work or managed PC, ask your IT team first, and if the BIOS has a supervisor password you won’t be able to change this.
Fix 3: Check the drive is detected in BIOS
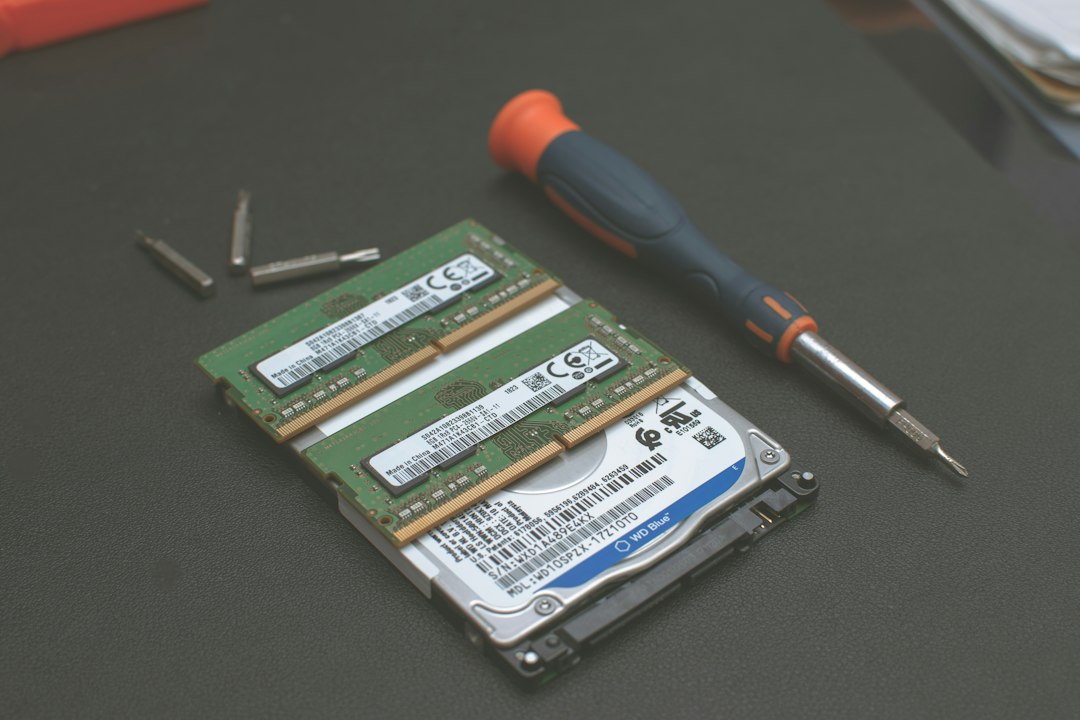
If neither fix helps, check whether the PC can see the drive at all. Open BIOS/UEFI setup and look at the storage, NVMe or boot device information.
- If the drive isn’t listed, setup can’t see it either. Power off, unplug, and reseat the SSD. On desktops, check the SATA data and power cables, or try another M.2 slot.
- Some M.2 slots only accept NVMe or only SATA drives, or share lanes with other ports. Check the motherboard or laptop manual.
- Try the drive in another PC or a USB enclosure. If it’s not detected there either, it has likely failed and needs replacing under warranty.
- If the PC uses a hardware RAID array, the array has to be created in the RAID utility before Windows can install to it.
Fix 4: Recreate the installation USB
Old or damaged installation media can miss drivers newer hardware needs. Build a fresh USB with the current version of Windows using our guide to creating Windows installation media, then try again. Plug the stick directly into the PC rather than a hub. If setup fails at a different step instead, see Windows cannot find the Microsoft Software License Terms.
If you’re reinstalling to fix a problem, you may not need a clean install at all. Compare the options in how to reinstall Windows 10.
In a virtual machine
- Hyper-V: make sure the VM has a virtual hard disk attached in its settings. Generation 2 VMs use a SCSI controller, which Windows setup supports without extra drivers.
- VMware Workstation: check a virtual disk exists under VM Settings. If you picked a disk type that setup doesn’t recognize, add a new disk as SATA or NVMe instead.
- VirtualBox: check a disk is attached under Settings > Storage on a SATA controller.
- Proxmox, KVM and QEMU: a VirtIO disk needs the VirtIO driver. Attach the
virtio-winISO as a second CD drive and use Load driver to load the storage driver from it, or pick a SATA disk instead.
Related guides
- How to create Windows 10 installation media
- How to reinstall Windows 10
- Windows cannot find the Microsoft Software License Terms
- How to downgrade from Windows 11 to Windows 10
Official sources: for more detail, see these pages:
- Dell: No drives can be found during Windows installation (Intel 11th to 14th gen)
- ASUS: Cannot find drives when installing Windows
- Dell: Install the storage controller (F6) driver during Windows setup
Frequently asked questions
Will loading the driver or disabling VMD delete my files?
No. Neither step changes what’s on the drive. Data is only erased if you then delete or format partitions during setup, so check which drive and partition you select.
Why does this happen with a brand-new laptop?
The laptop ships with VMD turned on and its own Windows image that already includes the driver. Standard Microsoft installation media doesn’t include every vendor storage driver, so it can’t see the SSD until you load one.
Can I get the Intel RST driver straight from Intel?
Intel publishes RST drivers, but your PC maker’s version is the one tested for your model. Use the maker’s support page first.
Do I need to turn VMD back on after installing Windows?
No. If you installed Windows with VMD off, leave it off. Turning it back on later can stop Windows from booting.
Leave a Reply